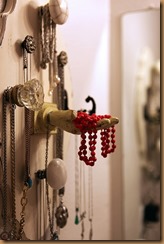
Many of y’all have perused the boards on Pinterest just as I have. I came across several ideas for jewelry holders and decided that I could totally make one! And when I say “I”, I mean my husband…haha!!! Here is my inspiration photo that got my creative juices flowing.
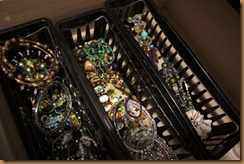
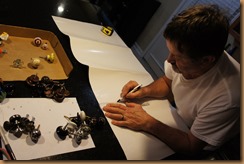
I absolutely LOVE the hand knob but couldn’t find that anywhere. But first things first. This is how I used to store my necklaces and bracelets.
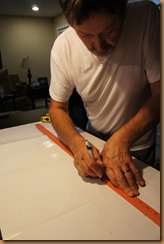
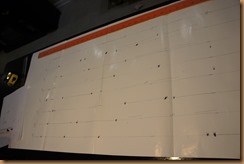
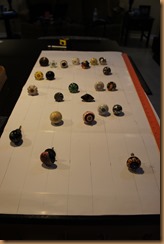
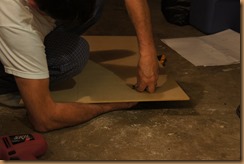
We started planning the layout to see what size boards we needed.
Trying to figure out spacing was a little tough.
If we ever did a project like this again, I would space the bracelet knobs a little differently. Seems to be a little too much spacing between the bracelet knobs but my hubby was laying it out as I requested and he did a good job.
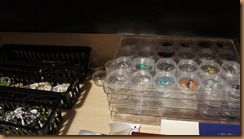
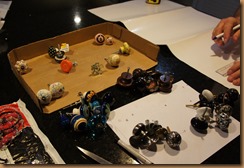
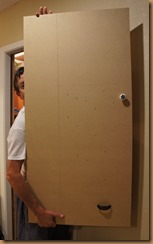
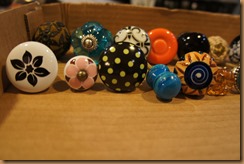
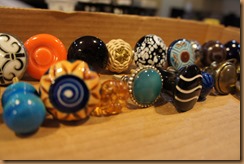
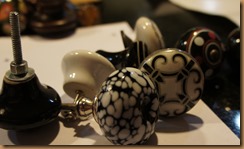
We decided how large we wanted it and purchased some 1/4” 2’x4’ MDF project panel board from Home Depot for around $15 including. The knobs I purchased in the clearance section at Hobby Lobby (a craft store in the area) for around $50 for 43 knobs. I’m sure that you could find some less expensive knobs and I didn’t shop around that much at any of the home improvement stores. When I did I would see some really cool knobs that were like $4 each!! Aacckk!!! I didn’t want to spend that much per knob and the ones that I chose were around $1 each. A buddy of mine gave me several door pulls and I used one on this project to hang some larger earrings that don’t fit in the containers I normally use. Click HERE (earring containers) to see how I store my earrings. I have plans to use the rest of the door pulls for another project. You will have to wait and see how that turns out!
So after purchasing the board Marvin did a test run and put a knob on the board to see if our ideas would work.
Looks like it’s going to work! He adhered the knobs and he cut down the end of the screw as most were made to fit a drawers/cabinets and were too long.
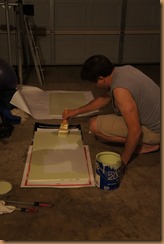
We liked how it was turning out and so Marvin used some leftover paint and painted the boards the same color as the walls in our bedroom.
We gathered all the knobs that I had purchased and started installing them on the board.
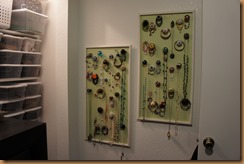
We put it together and hung it up in our closet. It looked close to what I had envisioned in my head but not quite there.
Something was missing.
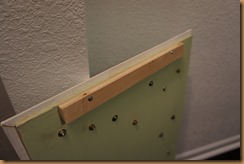
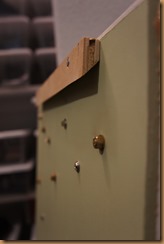
Marvin thought that if we put a frame around it that it would make it look more “finished”. He bought three pieces of molding for around $3.70 each and cut them to fit the boards. We then gave them to my dad to finish out the framing. Dad also used some scrap wood to fashion a hanging device for the back.
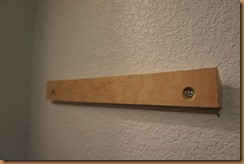
There were two pieces and one piece went on the back of the board and the angle was on the bottom of the piece that would interlock with the piece attached to the wall.
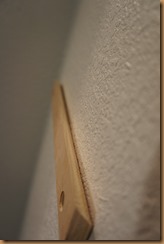
The other piece was attached to the wall and the angle was on the top of that piece.
Almost there!
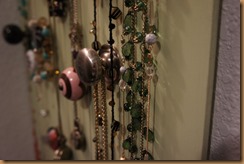
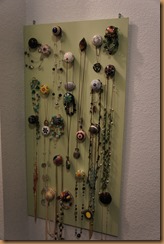
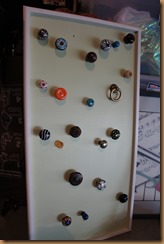
The finished product!! Marvin and my dad did an awesome job of bringing to life what I had envisioned. I think it looks fantastic!!
So the total cost, not including the hanging device my dad made, was $76 or about $38 for each one. Not too bad for a custom jewelry hanger.
Another installment of Ms. Hobby Lobby is in the books! Success!!
